


How to Make Your Own Cultured Butter
While there are no arguments that cultured butter is relatively healthier, making it at home, especially with your kids, makes it even more beneficial. You get to make butter with the flavor you love most and have fun while at it.
So, how do you make cultured butter at home, and what benefits do you get? Welcome to making your own cultured butter 101! Be prepared to make your hands a little useful.
DIY Cultured Butter Recipe
We are going to make a three-quarters pound yield of cultured butter. After our first step of culturing the cream, the rest will flow naturally.
Ingredients
You will need three ingredients, which are:
- 4 cups heavy raw or pasteurized cream
- ½ cup yogurt (plain whole milk)
- Fine sea salt
Procedure:
Before you start, remember to sanitize your equipment. This is vital when handling dairy products. You can then follow the following steps:
- Whisk the cream and yogurt in a bowl to a uniform mixture. You can involve your kids in this step to give them a little fun.
- Culture the cream for at least 12 hours at room temperature (or a little warmer). Don't let it sit for more than 24 hours. As a side note, culturing this way works when you use cream and yogurt as your ingredients. Others, such as milk kefir grains, have different methods of culturing.
- Turn the cream into butter. To do this, freeze the cream for about two hours. Next, pour it into a bowl and cover it with a lid. Shake it until butter balls form and start clumping up. Your kids would love a task like this. Some use a stand mixer in this step, but this takes all the fun away from the kids.
- Drain the buttermilk. Place the buttermilk in a mesh sieve and place it over a bowl. Let all the buttermilk seep through such that you all left is a butterball. For better results, you can set the butterball on cheesecloth and press it for complete drainage.
- Rinse the butterball. Place it on a bowl and pour filtered ice water over it while patting the butter. Drain the water and repeat it until the drained water is clear, meaning that all the buttermilk is off, and your cultured butter won't spoil quickly.
- Place the cultured butter on clean cheesecloth or a towel and knead a little to remove all moisture.
- Add salt (and herbs) to the butter for flavor.
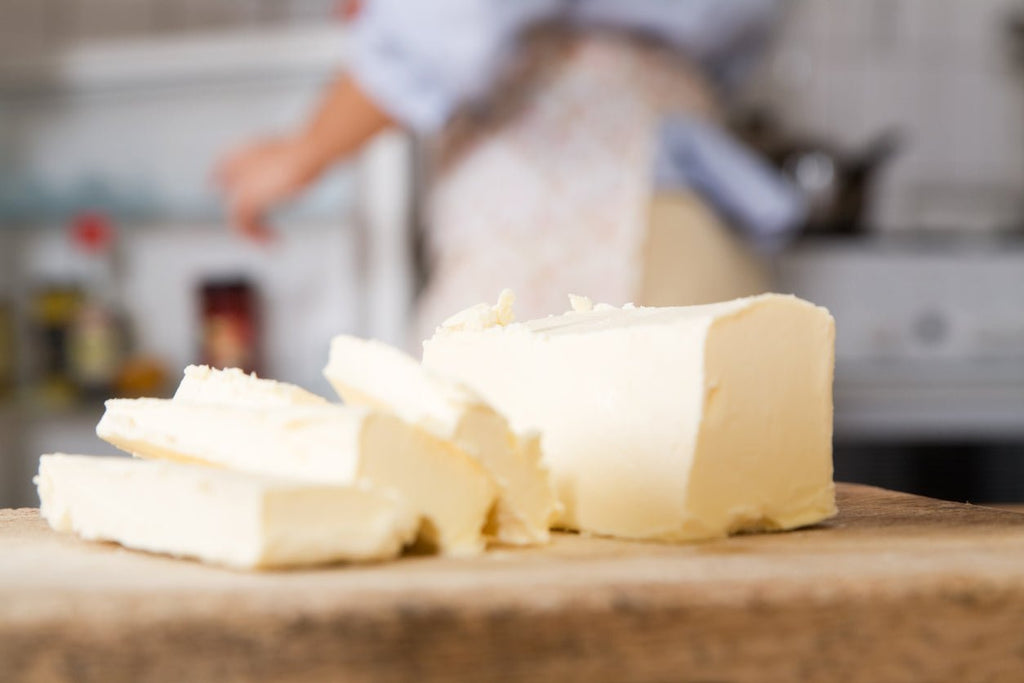
- Cut the butter into a block, then wrap it – first with plastic then with parchment paper. Please keep it in the fridge and use it within a month.
Benefits of Creating Your Cultured Butter
Cultured butter has enzymes and lactic acid that does your digestion system a lot of good. Here is why you need to create yours at home:
- You get to have a fresh product, compared to cultured butter from the store.
- The resulting cultured butter can have your favorite flavor.
- You save on cost. The savings may not be much if you are buying cream, but any penny saved is worth it.
- Making cultured butter at home creates a lot of fun for you and your kids, too.
Creating cultured butter sure seems like a lot of work, but it's incredibly easy and rewarding. It can also be fun when doing it with your kids. Furthermore, the cost savings along with the other benefits of creating your cultured butter make the whole process more than worth it. Also, feel free to contact us for the best quality material for your cultured butter.